Signage & Decor
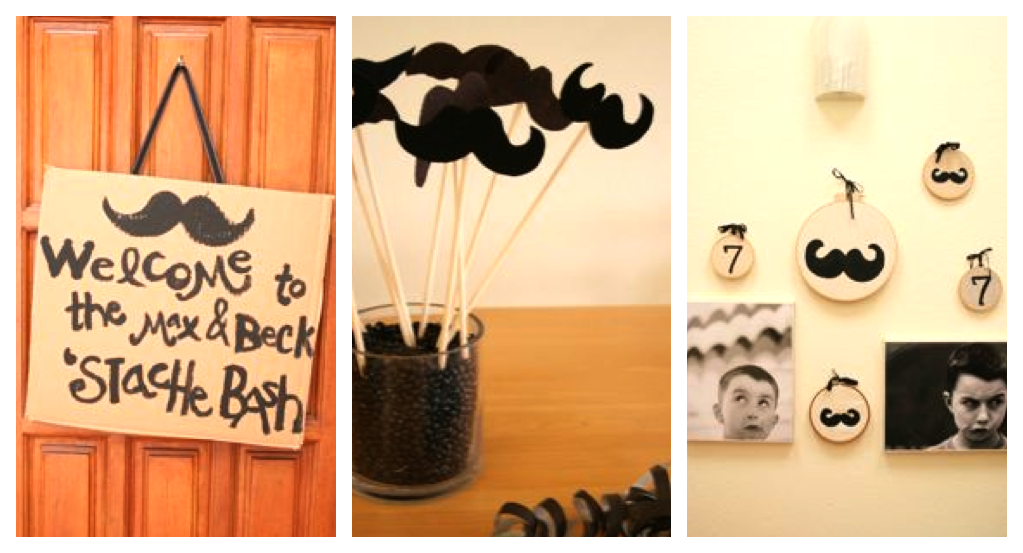
I tried to keep the costs in check, so I made all the signage from old cardboard and splurged on cool ribbon from Michaels. I painted moustaches and 'sevens' on some old canvas I had lying around, and popped them into quilter's hoops that we bought at the thrift stores.
Mad Props
Upon entering the party, each guest was treated to a
"Stylish Mustache". I bought these through Amazon. Unfortunately, the sweaty youngsters wore out the adhesive, so we resorted to an impromptu moustache painting station. It actually worked out even better (Salvador Dali!), though the fuzzy ones did look pretty awesome for a bit (Tom Selleck at age 7! Doesn't get much better.). To create the
Moustaches on Sticks we bought brown and black felt and dowels (Michaels) and cut out cool 'staches for props...displayed in a cylinder of black beans. I also made but forgot to photograph some chocolate moustaches with
candy molds I bought online. I'd say less than half survived my candy making (wrong type of chocolate? Uggh!) but those that did, went out the door as party favors. They were each on a lolli stick and wrapped in cellophane with black and white ribbon.
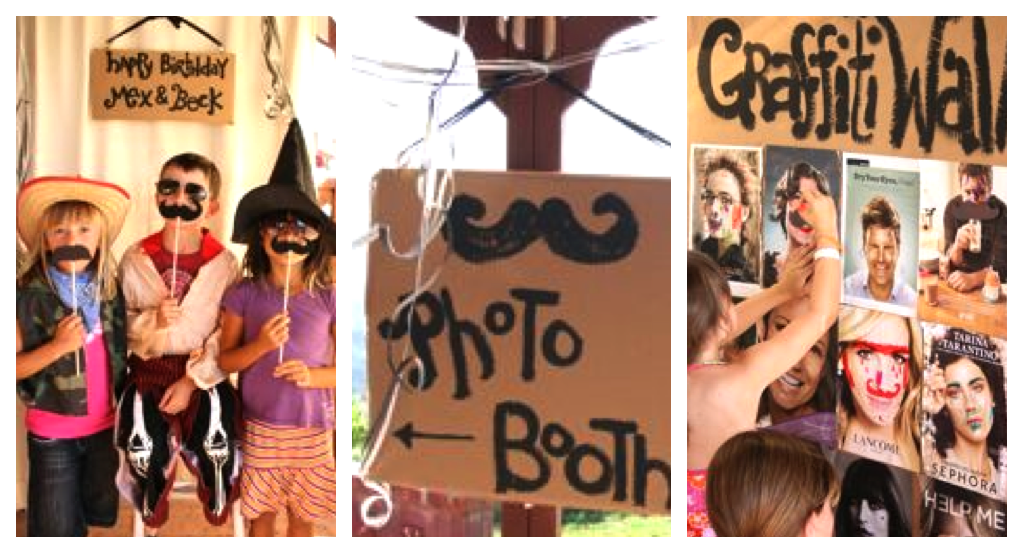
Next up, was the Photo Booth! Great for memory making, and fun to do. I took the boys thrift shopping a week or two before to pick out some special props to add to our own dress up stash. We found awesome finds in the early Halloween displays--top hats, bowlers, supersize sunglasses, vintage tennis racquets, and more. Super fun for all, and just wish I could have hung out here the whole time taking pics. I'm still in the process of printing some keepers, and sending out with thank you notes. Another easy activity was the Graffiti Wall--I had the boys help comb through magazines and find pictures of faces (big, full ad type) so that we could add our own moustaches, and whatever else...set out a Jar-o-Sharpies and they had a gas deconstructing the glossy images.
Games
I took images of the boys (used for the invitations) to Costco and blew them up for a little game of "Stick the Moustache on Max & Beck". My cousin Morgan cut out some pretty rad 'staches (note the fumanchu!) to use for this game. Next we played "Hot Potato Sac" which is a game I found online. It's essentially a pillow case stuffed with dress up clothes, and while kids sit in a big circle, music plays, the sac is fired off from kid to kid. The music stops, and wherever it lands, the kid sticks a hand in and pulls out something to wear. At the end, the kids vote on the silliest dressed player. They had so much fun, they asked to play again. Easy answer? Just let them rock the dress up stuff the rest of the party. For a little more free play we left out a pile of pipe cleaners, a bowl of bubble solution, and some bold chalk for the patio. This was a nice option for some of the younger party peeps. And the girls.
The
Party Favor bags featured our moustache potato prints. Each guest got the boys' favorite Reeses Peanut Butter Cups, some type of quirky alien or monster or reptile item (boys), or bubbles or a notebook (girls).
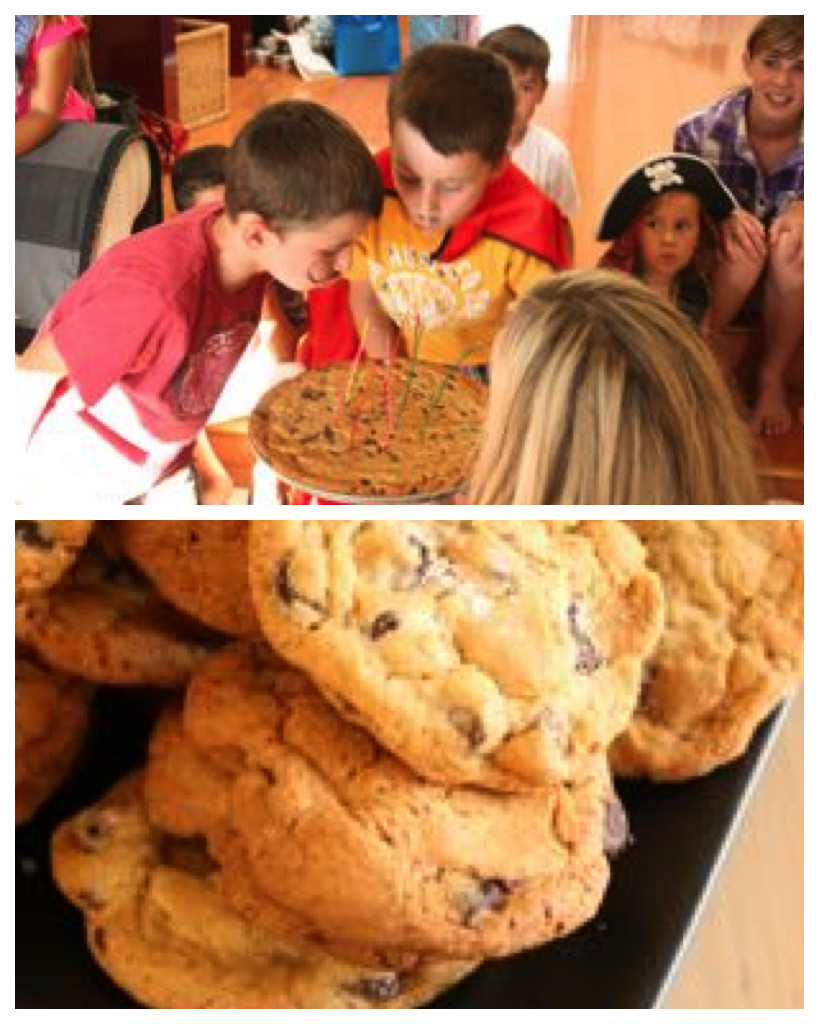
Unfortunately I was so rushed for the party beginning, that this is the only shot I have of the giant chocolate chip cookie. The kids devoured the single cookies from moment one, and frankly there were just crumbs remaining of the giant confection after the last of our neighbors headed out later that night. The most awesome recipe for this? The one with loads of real butter that I followed by heart and did not substitute wheat flour or applesauce, or add flax or yogurt to? A New York Times feature recipe adapted from Jacques Torres. Secret to this? Make the dough. Refrigerate. Let the ingredients soak each other up. Holy Cuss. Delicious. Crazy good. Happy Birthday Boys!
XOXO
Mommy
The New York Times Chocolate Chip Cookies
Adapted from Jacques Torres
Top of Form
Bottom of Form
Time: 45 minutes (for 1 6-cookie batch), plus at least 24 hours’ chilling
2 cups minus 2 tablespoons
(8 1/2 ounces) cake flour
1 2/3 cups (8 1/2 ounces) bread flour
1 1/4 teaspoons baking soda
1 1/2 teaspoons baking powder
1 1/2 teaspoons coarse salt
2 1/2 sticks (1 1/4 cups) unsalted butter
1 1/4 cups (10 ounces) light brown sugar
1 cup plus 2 tablespoons (8 ounces) granulated sugar
2 large eggs
2 teaspoons natural vanilla extract
1 1/4 pounds bittersweet chocolate disks or fèves, at least 60 percent cacao content
Sea salt.
1. Sift flours, baking soda, baking powder and salt into a bowl. Set aside.
2. Using a mixer fitted with paddle attachment, cream butter and sugars together until very light, about 5 minutes. Add eggs, one at a time, mixing well after each addition. Stir in the vanilla. Reduce speed to low, add dry ingredients and mix until just combined, 5 to 10 seconds. Drop chocolate pieces in and incorporate them without breaking them. Press plastic wrap against dough and refrigerate for 24 to 36 hours. Dough may be used in batches, and can be refrigerated for up to 72 hours.
3. When ready to bake, preheat oven to 350 degrees. Line a baking sheet with parchment paper or a nonstick baking mat. Set aside.
4. Scoop 6 3 1/2-ounce mounds of dough (the size of generous golf balls) onto baking sheet, making sure to turn horizontally any chocolate pieces that are poking up; it will make for a more attractive cookie. Sprinkle lightly with sea salt and bake until golden brown but still soft, 18 to 20 minutes.
Transfer sheet to a wire rack for 10 minutes, then slip cookies onto another rack to cool a bit more. Repeat with remaining dough, or reserve dough, refrigerated, for baking remaining batches the next day. Eat warm, with a big napkin.
